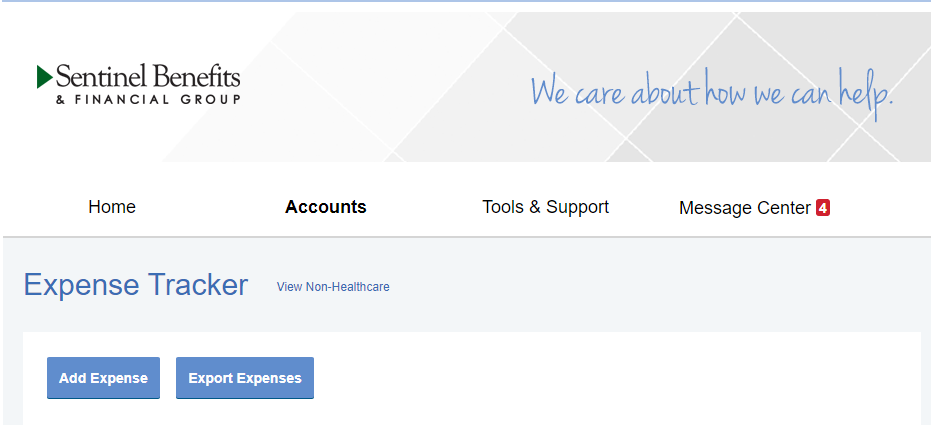
You may view and manage your expense activity all in one place by using the Expense Tracker.
The Expense Tracker provides you with an easy-to-use consolidated view of expenses for ongoing management of expenses, claims, and card transactions.
The Expense Tracker will serve as a "virtual shoebox" to store expense information. You can store, track, import, and export expenses and receipts for future reference. You can track your expenses only or create a payment/distribution for any unpaid expenses directly from the Expense Tracker page.
How do I add an expense to the Expense Tracker?
- From the I Want To menu of your online account, select Expense Tracker
- Click Add Expense
- Complete expense detail fields. You will also be able to upload a copy of the receipt and add notes to your record.
- Edit existing expenses by clicking the expense line to expand the claim details. You will be presented with options to add notes, update details of the expense, mark as paid/unpaid, or remove the expense.
- Export expenses to Excel by clicking the Export Expenses button.
Can I request payment for an expense from the Expense Tracker?
You may process payments/distributions directly from the Expense Tracker. Simply click the Pay button to the right of the expense and you will be presented with eligible payment options. When you click Pay, the claim details from the expense will pre-populate and you can review and edit details as needed.
If you only need to request a distribution, you can also do so by selecting Make An HSA Transaction
Can I link my healthcare claims to my Expense Tracker?
Some plans will allow the option to receive claim data from your healthcare insurance carrier. If your plan allows this, click the Link Healthcare Claims button and provide required information. You will be alerted to new expenses within the message center of your online account. Once linked expenses are added to your tracker you may edit, export or request payment for any expenses.

