Smart Scan makes it easy to scan an EOB right from the mobile app and autofill expense details. It is conveniently located on the home page of the mobile app.
1. To begin simply click 'Start Scanning'.

2. Select the type of EOB to scan. (For our example we selected Medical).

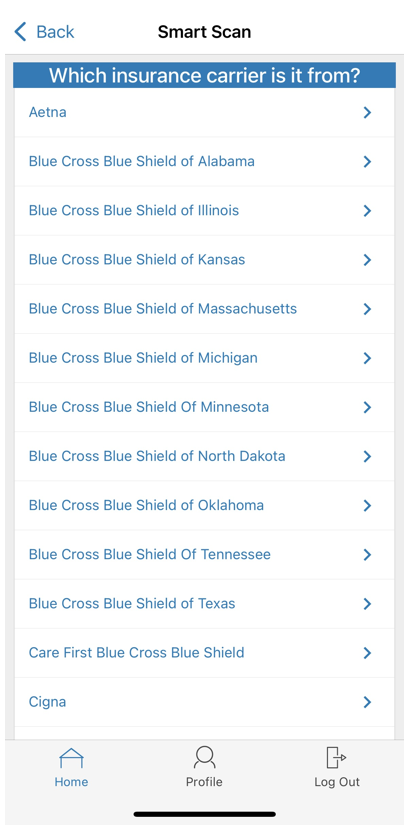
3. Select the insurance provider.
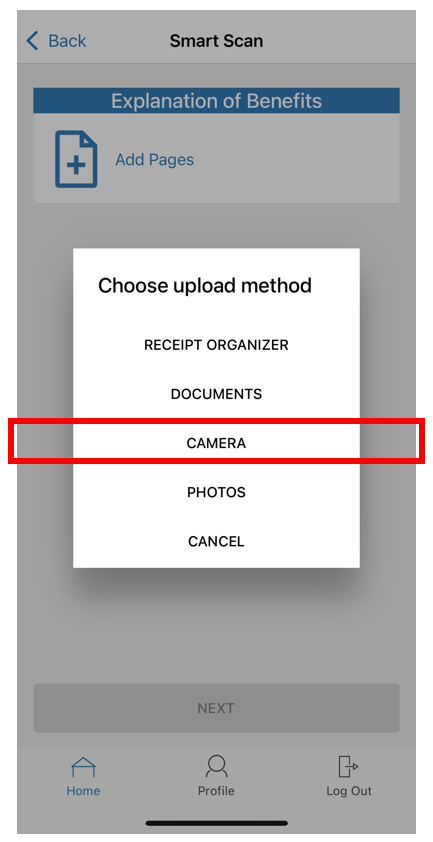
4. Select 'Add Pages' then choose upload method. (For our example we are using the phone camera).
5. After adding your documentation, you will have the option to upload additional pages using the 'Add Pages' option or if you have all documentation needed you can select 'Next'.

6. The system will read your document and autofill claim details. You will have the ability to review the auto filled information, make changes and add notes if needed before submitting your expense. Scroll through the details until you have two options for submission:
- Pay Expense Now: This will create a claim that you can elect to pay from your desired plan.
- Save for Later: This will save your expense in your expense tracker. You will need to go in during your plan year and select 'Pay" to have the claim submitted for adjudication. (This option is most often utilized by our HSA participants who want to keep their funds invested longer in the market).


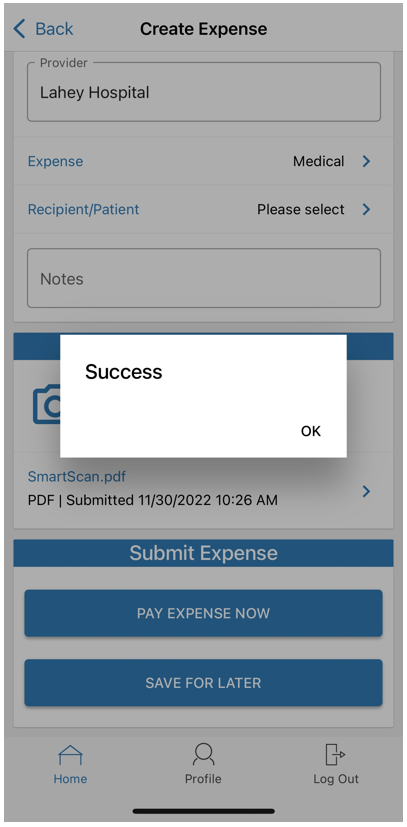
7. Once your claim is successfully submitted you will receive a 'Success' message.
8. Now you would need to navigate back to your home screen and select 'Manage Expenses' to submit the claim for review.

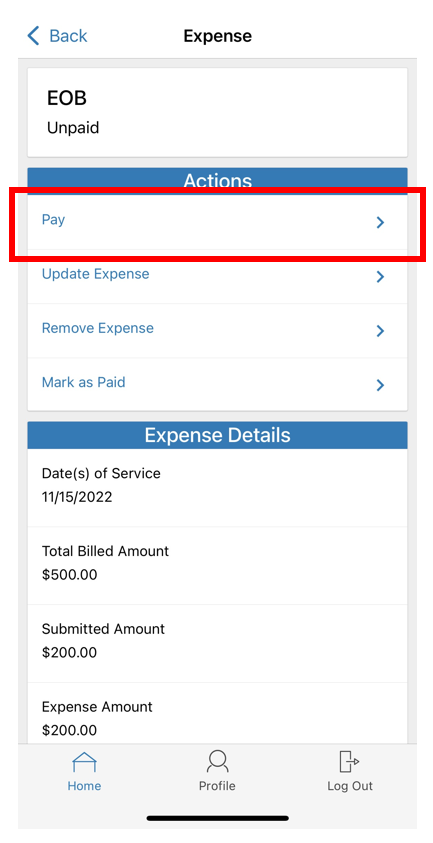
9. Next select the claim you want to submit for payment.

10. Select 'Pay'.
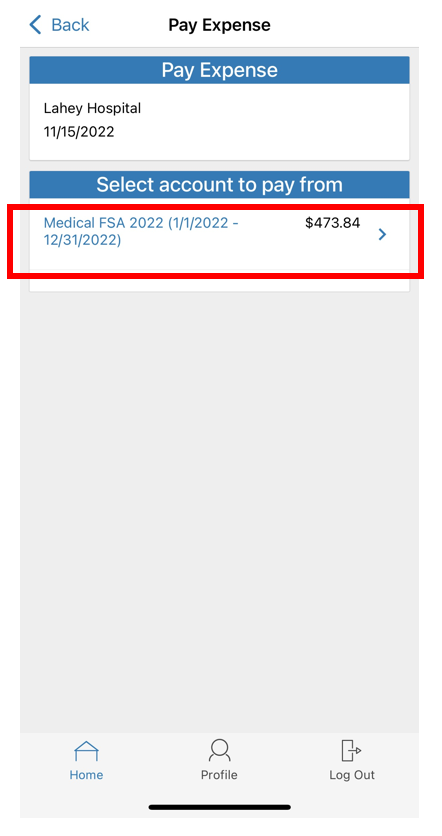
11. Select the benefit account you would like reimbursement from.
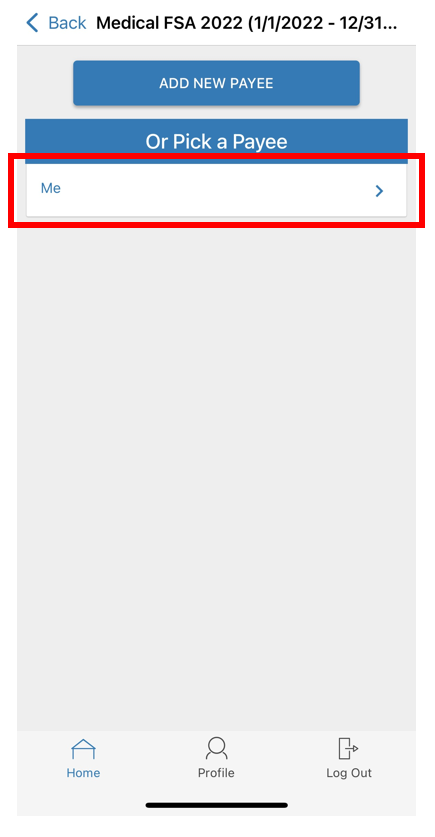
12. Select who should be reimbursed for this expense. (In this example we selected 'me' but we could 'add a new payee' if we wanted to send payment to a provider directly.
13. There is a final page to review all the claim details. Once all fields are completed, select 'Submit'.


14. Select 'OK'. You will see the claim deducted from your available balance. The claim will be sent to the adjudication team for review.

